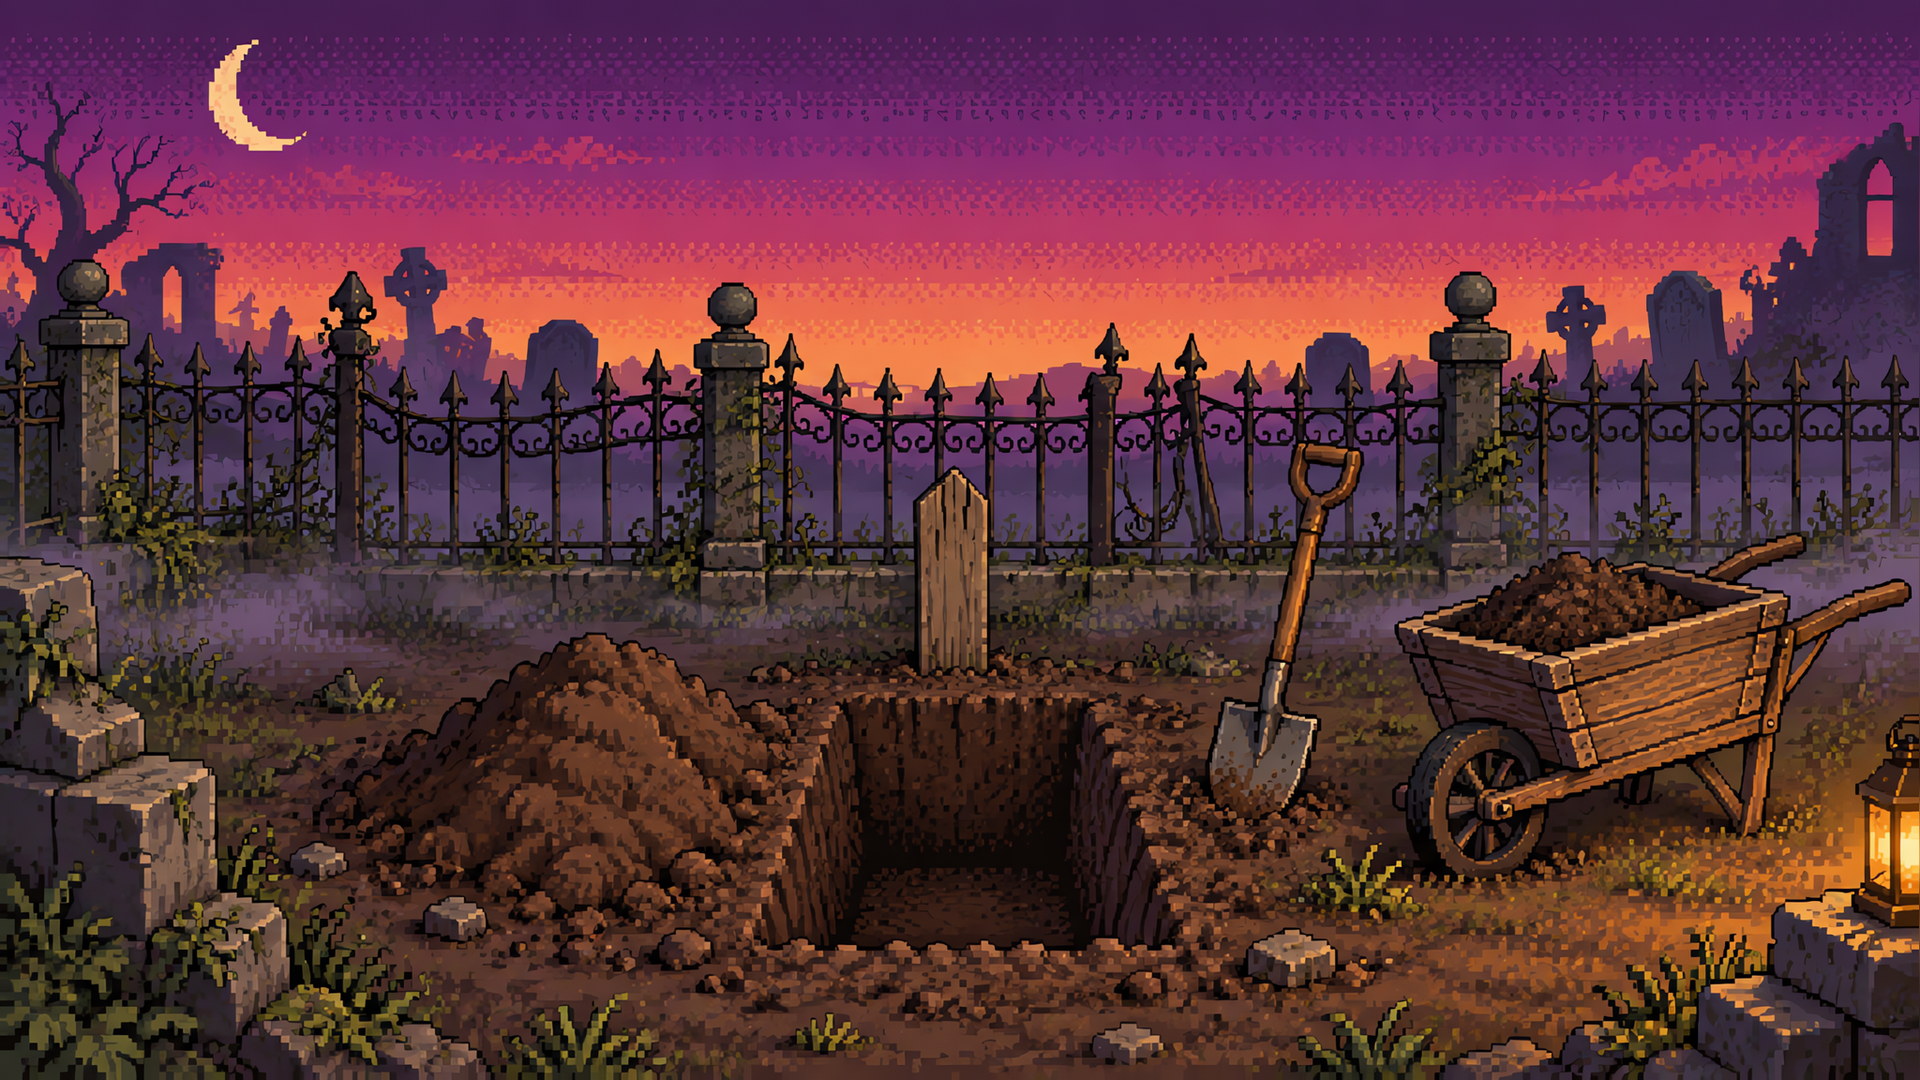
Graveyard layout in Graveyard Keeper 2

The sequel keeps the first game’s scoring loop and moves the yard into 3D: every burial plot, monument, bench and path tile feeds one rating that decides income, reputation and the quality of the Town’s clients. The description below comes from a Portuguese-language fan wiki, so every tier and name it supplies is written as its claim rather than as shipped game data.

Faits vérifiés 28 septembre 2026Temps de lecture 7 min readSources citées pour chaque affirmation

Illustration d un cimetière agencé avec des tombes, monuments et allées dans Graveyard Keeper 2.

How the graveyard works, in four points

Four things decide how a yard scores: what you place, what the game counts, what the tech tree hands you, and how expensive it is to undo a mistake.

Unconfirmed (checked 2026-09-28)

One rating, built per plot and per decoration

The wiki describes the score as accumulating grave by grave and decorative piece by decorative piece, with the cemetery’s own level scaling what those pieces are worth. A better-rated yard is said to lift funeral income, reputation and the demand for your services — Unconfirmed (checked 2026-09-28).

Unconfirmed (checked 2026-09-28)

Four structure families, ranked A to S

The same page splits the buildables into burial pieces and decoration, with paths as a third traffic layer. Its own comparison puts a Stone Grave at the cheap end for burial volume, a Columbarium and a Grand Monument at the top, and a Stone Bench as very cheap filler.

Unconfirmed (checked 2026-09-28)

Layout is not the same as inventory

Paths are described as what guides visitors, benches as what keeps mourners where they are, and monuments as what signals prestige. The wiki’s own argument is that a deliberate arrangement of cheap decoration can outperform a row of premium graves dropped in without thought.

Unconfirmed (checked 2026-09-28)

Moving a placed piece is the expensive part

Space is finite, and a grave or path that has already been placed is described as costly to relocate. That is the stated reason to leave room for later columbariums and monument space instead of filling the grid as the bodies arrive.

Structures

The four structures the material ranks

One fan wiki compares the buildables by module type, rating gain and build cost. The tiers in its table are its own ranking, not a published scoring table.

StructureModule typeRating gain and best use
Stone GraveBurialTier A, low build cost. Described as the answer for burying at volume in the early game.
ColumbariumBurialTier S, medium build cost. Described as the storage option for high-quality remains.
Grand MonumentDecorationTier S, high build cost. Described as the prestige piece and the source of rating spikes.
Stone BenchDecorationTier B, very low build cost. Described as filler rating and visitor flow rather than a headline piece.

The tiers, the cost bands and the burial-versus-decoration split all come from one Portuguese-language fan wiki, and they are the only structure comparison anywhere in the supplied material: no second source ranks a grave against a monument, and none of them prices either in silver. Unconfirmed (checked 2026-09-28).

How the score is actually built

The wiki separates four inputs. Three of them are things you place; the fourth is a body you choose to bury there.

Graves and decoration both count

The rating is described as accumulating from each burial plot and each decorative piece rather than as one value for the yard, and the cemetery’s level is said to scale the total. That is the mechanism behind the “cheap filler” advice: a bench is not a monument, but it is still counted.

The tech tree decides which pieces exist

Graves, columbariums, monuments, benches and paths are unlocked as tech-tree modules, so a node spent on a monument changes the order you are able to build in. The wiki counts more than ten modules under the cemetery heading.

Corruption became an asset

Corpses still arrive scored on white skulls, but the wiki describes red skulls — corruption — as valuable now, because a more decomposed body produces a more capable zombie worker or soldier. Burying the good body and raising the useful one are two different decisions about the same corpse.

The yard feeds the church

A higher-rated cemetery is described as feeding the church beside it and the faith economy that church runs on, which is where the layout stops being decorative and starts paying for the next round of upgrades.

A supplied beginner-tips video draws the same white-skull/red-skull split — red-skull corpses for the zombie army, white-skull corpses for graveyard quality — without adding any numbers to it. The four inputs on this page otherwise come from the fan wiki alone. Unconfirmed (checked 2026-09-28).

What the layout itself is doing

The three decoration roles are the part most easily dismissed as flavour text. The wiki treats them as the reason a planned yard beats a crowded one.

Paths guide visitors

Path segments are described as the layer that directs where people walk, which is why the wiki keeps them back until the grid is settled: laying paths through a plot you later rearrange is the mistake it warns about.

Benches give mourners a reason to stay

Benches are the piece that keeps the bereaved standing on the grounds instead of passing through, and they are also the cheapest way to add rating to ground that has no grave on it.

Monuments carry the prestige

Monuments are framed as the signal of a well-run yard rather than as per-plot improvements, which is why the wiki treats unlocking one as a ceiling change for every grave you will dig afterwards.

Where a careless layout costs you

The same page is explicit that the graveyard punishes planning mistakes more than it punishes slow play.

The grid fills up

A yard built plot by plot with no gaps ends up with nowhere to put a columbarium or a monument when the tech tree unlocks them, and moving what is already down is the expensive fix. Leaving space is cheaper than clearing it.

Premium plots with poor bodies

Burying low-quality corpses in the best plots wastes the plot, and the reverse — packing high-quality bodies into tight, undecorated ground — is described as draining both silver and reputation. The wiki treats body quality and plot quality as two numbers that have to match.

The tech tree forces a trade

Chasing monuments too early costs you the body-preparation tools that make the corpses worth burying, while never unlocking them caps how high the yard can score. Neither extreme is described as viable, which is why the recommended route below splits the difference.

Corruption zombies are harder to manage

The red-skull bodies that make the better workers are also described as the harder ones to keep in balance, because a workforce of specialists is less flexible than a yard of generalists. The wiki’s own advice is to expect that cost rather than to avoid corruption entirely.

Early route

The balanced build the wiki recommends

Its answer to “should I rush monuments?” is a sequence rather than a yes or no.

1

Lay burial modules first

Start with one or two burial modules, enough to keep up with the corpses the game keeps sending. That is the minimum that produces a rating at all.

2

Unlock a monument early, but not first

A monument raises the ceiling of every grave you will dig from then on, so unlocking one slightly later but early in the curve is described as beating a day-one rush for it.

3

Save paths and benches for a settled grid

The cheap filler pieces are worth buying once the layout is fixed, not while you are still moving burial rows around. Bought early they are decoration you have to dig up later.

What is still unknown

The layout material is one fan wiki page plus two creator videos, and it leaves the arithmetic of the score open.

  • What a rating tier is worth in silver. The page ranks structures from A to S and says a higher rating multiplies funeral income, without giving a figure.
  • How many burial quality levels exist. The same page advertises six and explains none of them.
  • Whether the cemetery’s level scales the rating, the income, or both.
  • What one path segment or one bench adds next to one grave, since the tiers are relative labels rather than numbers.
  • What relocating a placed grave or path actually costs.
  • How corruption affects a buried body’s rating, if at all. The wiki uses red skulls for the zombie asset and white skulls for the burial score, and does not say whether the two interact underground.
  • Which tech-tree nodes unlock the columbarium and the grand monument, and what those nodes cost.

D’où viennent ces informations

Chaque entrée ci-dessous est étiquetée selon sa nature : une source de développeur ou d’éditeur, une fiche de boutique, un article de presse, une vidéo ou une page tenue par des fans. Les pages de fans servent uniquement à la terminologie, et quand l’une d’elles est le seul relevé d’un chiffre, ce chiffre est écrit comme une donnée de wiki communautaire, non confirmée, avec la date de sa dernière vérification.

  • Page de fan graveyard-keeper2-wiki.wiki (pt) — Cemitério — A Portuguese-language fan wiki captured 2026-09-28 and the only structure comparison in the supplied material. Source of the four-structure table and its A-to-S tiers, the burial-versus-decoration split, the claim that more than ten tech-tree modules unlock cemetery pieces, the six burial quality levels, the grave-and-decoration accumulation described as a rating, the red-skull-as-asset reading, and the balanced-build sequence on /graveyard-layout/. Every one of those is reproduced there with the label "Unconfirmed (checked 2026-09-28)".
  • Vidéo Ic0n Gaming — 10 Easy TIPS For A GOOD START In Graveyard Keeper 2 — A 19:53 beginner-tips video captured 2026-09-28. Its transcript was generated by a video summariser rather than captured directly, so it is flagged for human review. Used on /graveyard-layout/ only for the white-skull/red-skull split (quality for the graveyard, corruption for the zombie army) and on /mastery/ for the observation that quest progression gates the systems around it; no number is taken from it.
Questions

Graveyard layout questions

How does the graveyard rating work in Graveyard Keeper 2?

A fan wiki describes it as a score that accumulates from each burial plot and each decorative piece, scaled by the cemetery’s level, rather than as one value for the whole yard. Higher ratings are said to multiply funeral income, improve reputation and attract better Town clients. Those are that page’s claims, not published figures — Unconfirmed (checked 2026-09-28).

Which graveyard structures are worth building?

The same wiki’s comparison ranks a Stone Grave as cheap burial volume, a Columbarium as its top-tier storage for high-quality remains, a Grand Monument as the prestige spike, and a Stone Bench as very cheap filler rating. It gives no silver prices, so the ranking is relative rather than calculable.

Should you unlock monuments early in Graveyard Keeper 2?

Early, but not first. The wiki’s advice is one or two burial modules to handle incoming corpses, then a monument unlock, because a monument raises the ceiling on every grave you dig afterwards. Chasing it on day one is said to cost you the body-preparation tools instead.

Why is corruption useful in the graveyard now?

Because the sequel treats red skulls as an asset rather than only a defect. White skulls remain the burial score, while a more decomposed body is described as producing a more capable zombie worker or soldier — so the same corpse is either a rating or a hire, and the choice is yours.

Does the layout matter, or only the graves?

Both. The wiki describes paths as directing visitors, benches as keeping mourners on site and monuments as signalling prestige, and argues that a deliberate arrangement of cheap decoration can beat a row of premium graves placed carelessly. Its “leave room” warning about columbariums and monuments is a layout argument, not a grave argument.

Can you move a grave once it is placed?

The material says relocation is expensive rather than impossible — it never states a price or a mechanic, only that moving what is already placed is the costly option. That is the whole reason the page recommends planning gaps instead of filling the grid as bodies arrive.

What is a columbarium for?

It is described as a burial module rather than decoration, ranked at the top of the wiki’s table and priced at a medium build cost, and its stated role is storing high-quality remains — the option for a yard that has more good skulls than it has prime ground.